

A headshot for a company profile or a product image for a shop can look inconsistent when background colors differ. The key is not simply asking AI for a new backdrop: it must separate the subject cleanly and keep its original color and shape. For a practical starting point, see how to change an image's background color online.
An AI-assisted image background color change works best when you specify the target shade, intended use, and what must stay untouched. A flat color replacement differs from generating a new room or scene. Scene generation offers creative flexibility, but gives you less exact control over uniformity, product accuracy, and repeatability.
How does an AI background color change work?
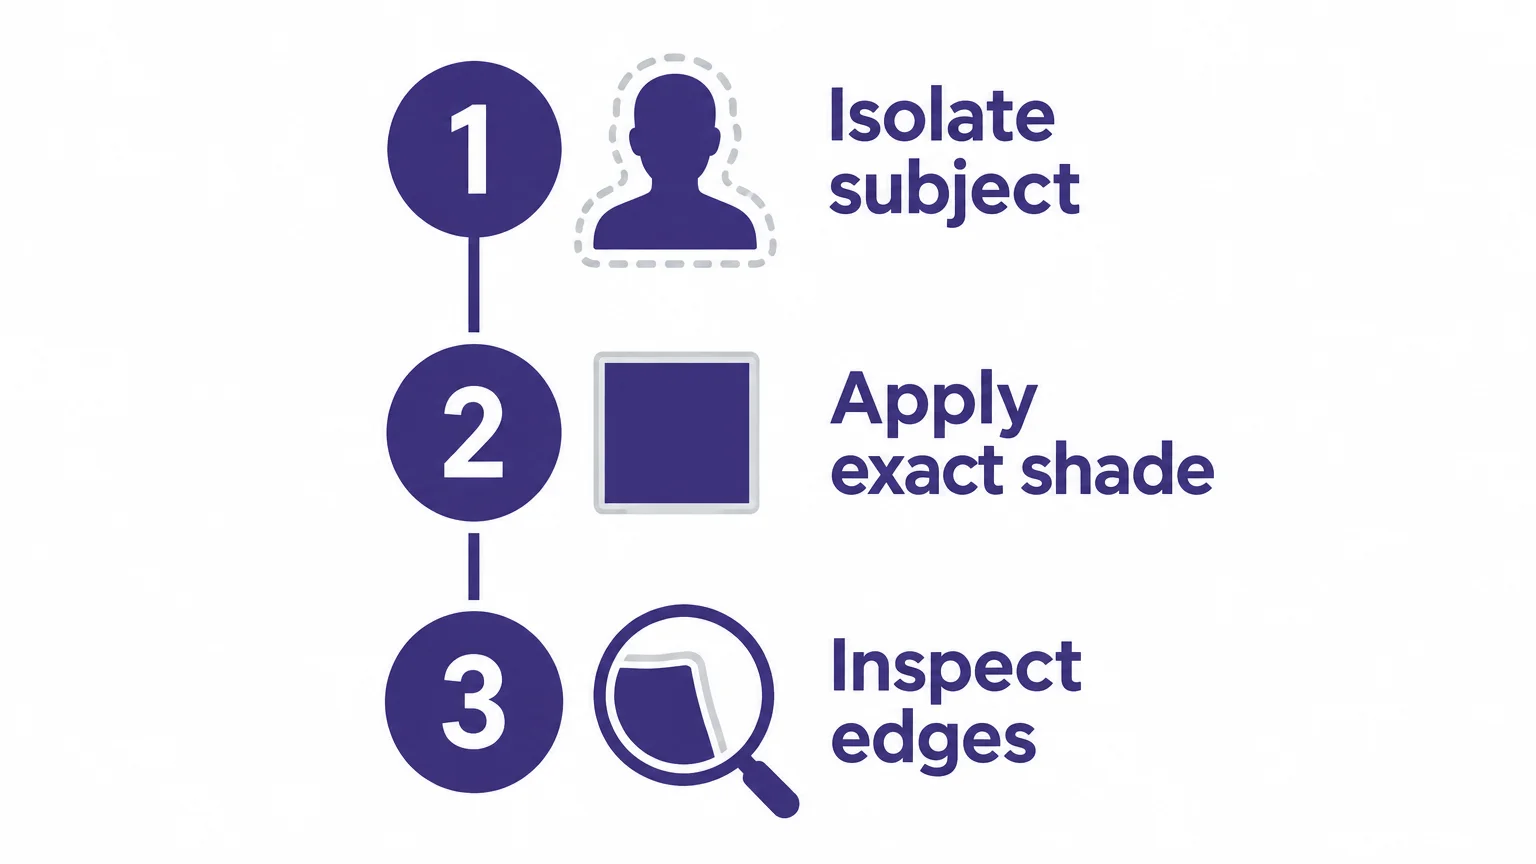
Think of the process as three tasks: identify the subject, separate it from the original backdrop, and fill the cleared area. A tool may use a subject mask to preserve the foreground while changing pixels behind it. It may also reconstruct missing background areas or blend edges to make the result look more natural.
The distinction between color replacement and scene generation matters. A solid-color editor aims to apply a consistent shade, which is useful for catalog images or a profile photo. A prompt-based editor may create a textured studio, room, or outdoor setting instead. That approach offers variety, but the result can differ across images and may alter more than the background.
In 2025, researchers analyzed 8,400 AI-generated and real images. They found narrower hue, chroma, and lightness distributions in AI images, along with stronger color correlations between subjects and backgrounds. This study did not evaluate background-color editing tools, but it underscores why you should inspect whether a new backdrop affects the apparent color of your subject. See the 2025 image-color study.
Which background color suits the image’s purpose?
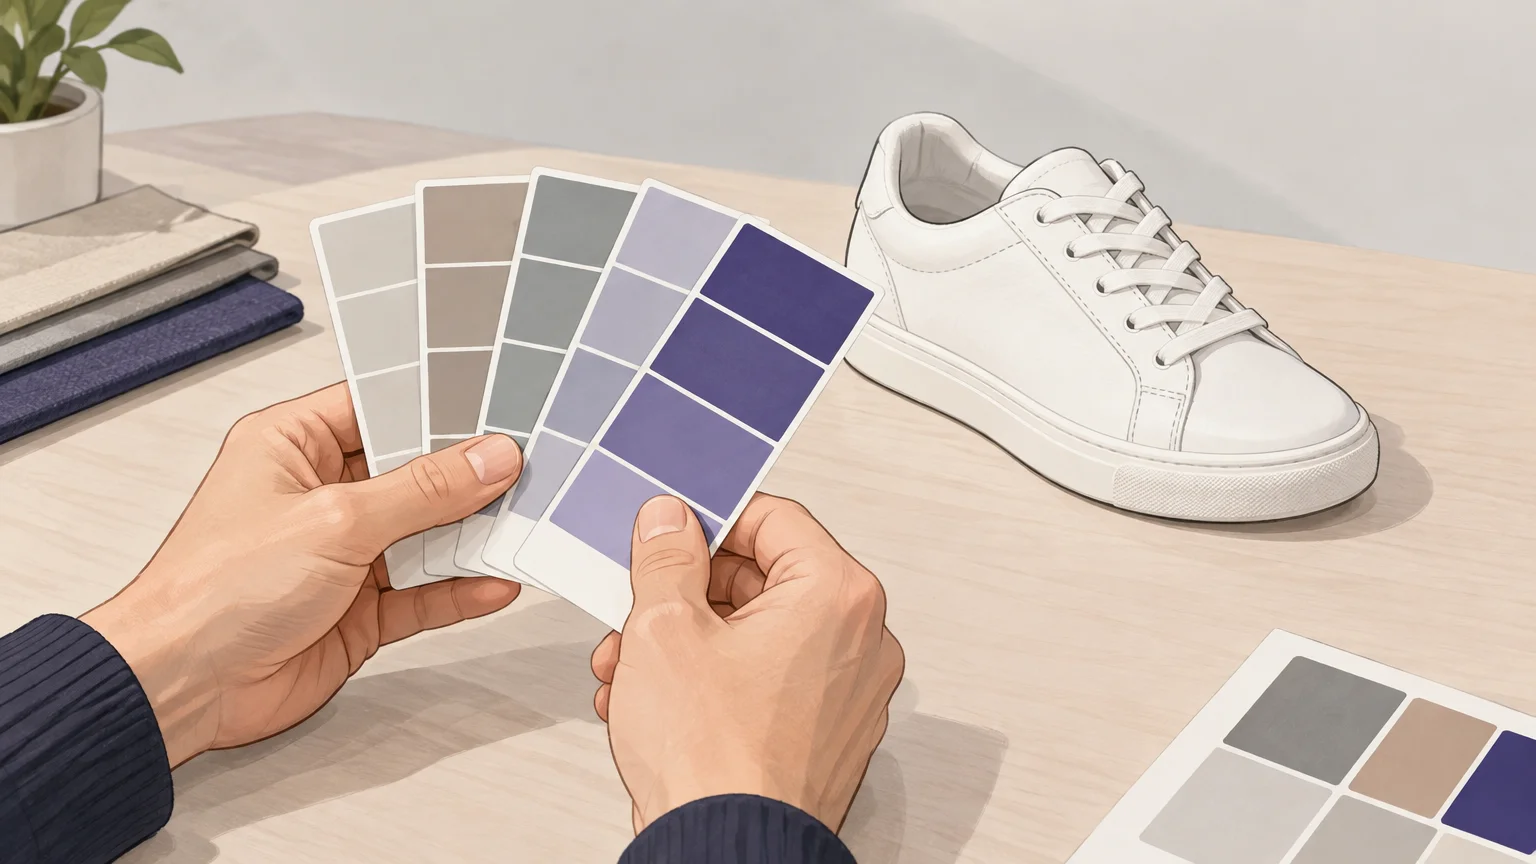
For a product listing, start with the destination’s image requirements and the product’s own colors. White or a pale neutral creates a simple, consistent presentation. A contrasting shade can make an object stand out, but check that it does not make the item itself look different. For a portrait, choose a color that complements clothing and keeps the face clear.
For repeat work, record the exact color value rather than choosing a shade by eye each time. A code such as #EAE6DF makes it easier to maintain consistency across a batch. If you want a dark treatment, our article explains how to create an AI black background for a photo.
A 2025 study examined four experiments on how white versus non-white backgrounds influence consumer responses to app icons. It does not establish a universally effective color, but it treats background choice as a meaningful part of visual presentation. Consider the audience and context alongside the shade. Read the four-experiment study.
What should you inspect before exporting?
A clean preview is not enough if the subject’s edges or colors have changed. Zoom in on hair, fur, glass, transparent plastic, and fine fabric. These details can be difficult to distinguish from the original background, so look for clipped edges, leftover color fringes, or gaps around the outline.
Then compare the edited image with its source. Check that product labels, skin tones, shadows, reflections, and texture remain plausible. A background that is too close in color to the subject can weaken separation. A very bright replacement can also make the subject appear darker by comparison.
A 2026 Nature Human Behaviour study collected 5,495 image-response pairs while examining color judgments for 785 images. It studied color descriptions, not image-editing performance, so it cannot establish how well an editor preserves a subject. The distinction is useful: a system’s color recognition is not proof of a clean edit. See the 2026 color-judgment study.
Before downloading, confirm the final dimensions and file type suit the destination. If you need to keep the background transparent for later editing, export a transparent PNG when available. If the final image needs a solid backdrop, inspect the full image at normal viewing size as well as the edges at close range.
How do you choose a workflow and check its cost?
Choose the workflow based on how much control you need. A solid-color editor is suited to a precise shade. A cutout followed by a separate color fill gives you more control over the final background, but requires an extra step. A prompt-based edit is useful when you want a designed scene rather than a uniform fill.
| Workflow | When it fits | What to verify |
|---|---|---|
| Solid-color replacement | You need one specified shade | Color value, edges, and export options |
| Transparent cutout plus color fill | You want to choose the fill in a separate editor | Cutout quality and transparency support |
| Prompt-based photo edit | You want a broader scene or visual change | Whether the subject and original details stay intact |
Our Remove Background workspace separates a foreground subject and provides a transparent PNG when removal succeeds. It is a cutout step, not a dedicated control for applying a chosen solid color. For another perspective on selecting a suitable workflow, see our overview of AI background replacers for photos.
For background removal, you can upload a JPG, PNG, WebP, or GIF up to 15 MB. The first cleanup run is complimentary for each cleanup tool. Later runs require a verified account and credits, with the required amount shown before processing. Check whether a tool directly supports your intended color change before relying on it for a final asset.
Choose a controlled color change
A reliable AI background color change starts with a clear target shade and a workflow that separates the subject from the backdrop. Check edges, subject color, shadows, and export settings before using the result. When exact color matters, use a solid fill or a transparent cutout with a separate color editor, then compare the finished image with its source.
Prepare a clean subject cutout
If your chosen color editor needs a foreground cutout first, begin by separating the subject. Our Remove Background workspace is designed for that preparation step, so you can review the cutout before using it in a separate color-fill editor.

Upload a JPG, PNG, WebP, or GIF up to 15 MB. The first Remove Background run is complimentary. When removal succeeds, download the subject as a transparent PNG and place it on a solid color in your preferred editor. Later cleanup runs require a verified account and credits, with the required amount shown before processing. Remove an image background with AI to prepare your cutout.
Frequently Asked Questions
How does AI replace an image background color?
The tool identifies the subject, separates it from the backdrop, and fills or rebuilds the background area. Review the result to make sure the subject and its edges remain intact.
Can AI preserve hair, glass, or fine fabric edges?
These details are harder to separate from a busy background. Zoom in on the outline and check for missing strands, halos, or leftover colors before using the image.
What should I write in a background-color prompt?
Specify the exact shade and what must remain unchanged, such as “Replace the background with solid #EAE6DF; keep the product, label, lighting, and shape unchanged.” Use a solid-color control instead when exact uniformity is essential.
Does Pixmage directly apply a chosen background color?
Our Remove Background workspace separates the foreground and provides a transparent PNG when removal succeeds; it does not itself promise a user-selected solid-color fill. Photo Edit accepts an uploaded photo and an instruction for a precise change, but a dedicated background-color control is not established for this specific task.
Which file type should I use after changing the background?
Use a format accepted by your intended website or design workflow. A transparent PNG is useful when you need to place the cutout over a color later, while a flattened image is appropriate when the background is final.