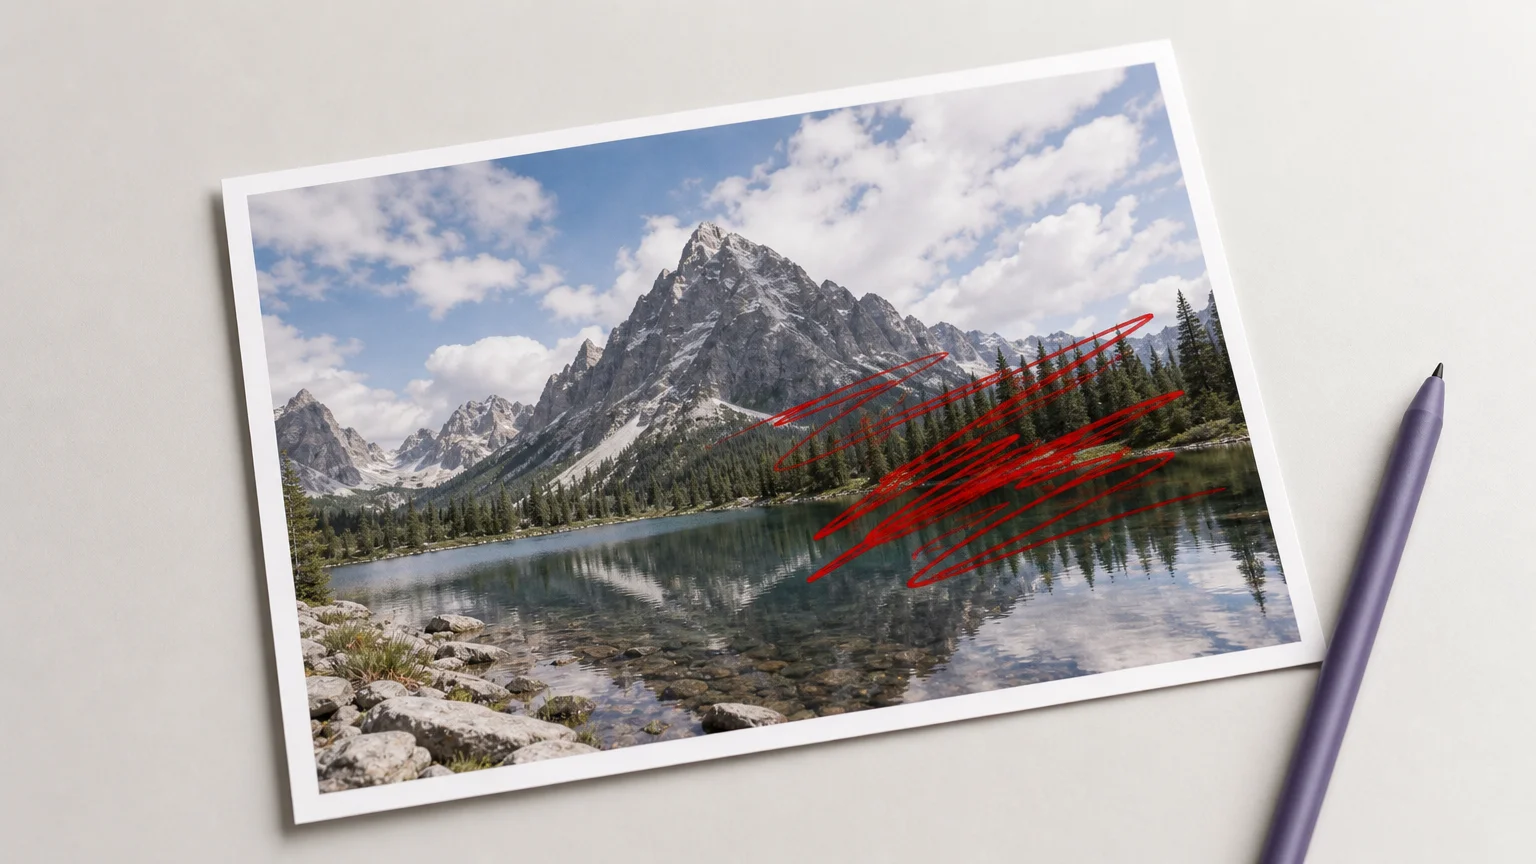

A scribble can look like a mark sitting on top of a photo, but the editing method depends on how the image was saved. If the mark is on its own layer, you can often hide or delete it. If it has been flattened into the picture, removal means rebuilding the affected area. Our AI image cleanup tools overview can help you consider task-focused options for that kind of edit.
Before you start removing scribbles from a photo, check whether your goal is to erase the visible mark or recover something hidden beneath it. Those are different tasks. Cleanup tools can replace marked pixels with a plausible continuation of the scene, but the result should not be mistaken for the original content.
First, check whether the scribble is editable
If you still have the project file, open it in the editor where the marks were added. Look for separate annotation, drawing, or markup layers. Hiding or deleting the relevant layer preserves the original image underneath, so it is usually the cleanest option.
If you only have a flattened JPG, PNG, or screenshot, the scribble is part of the image pixels. A cleanup tool can replace the selected area using nearby visual information or generated content. A 2026 selective-removal paper describes using prompts such as points, scribbles, and masks to identify image regions for text removal. That identifies where to edit; it does not establish that hidden details can be recovered.
For important photographs, keep an untouched copy before editing. This lets you compare the result with the source, undo mistakes, or try a different technique without losing the original file.
Choose a removal method that fits the mark
A short, thin mark over a plain wall is easier to retouch than a thick line covering a face, patterned fabric, or a detailed landscape. Consider the mark’s size, opacity, color, and overlap with important features. Then choose the least extensive edit that can address it.
- Separate layer: hide or remove the annotation layer, then export a clean copy.
- Small mark: try a healing or clone tool, sampling nearby pixels to cover a short line or speck.
- Larger mark: select the entire scribble and use inpainting to fill the area from surrounding context.
- Fine detail beneath the mark: look for another original photo or backup instead of assuming an automated edit can restore it.
When selecting an area for inpainting, cover the full stroke, including its edges, but avoid sweeping in unrelated detail. If the result leaves a halo or distorted texture, adjust the selection and try again. On repeating patterns or strong edges, manual touch-up may offer more control than a broad automatic fill.
Use an inpainting workflow carefully
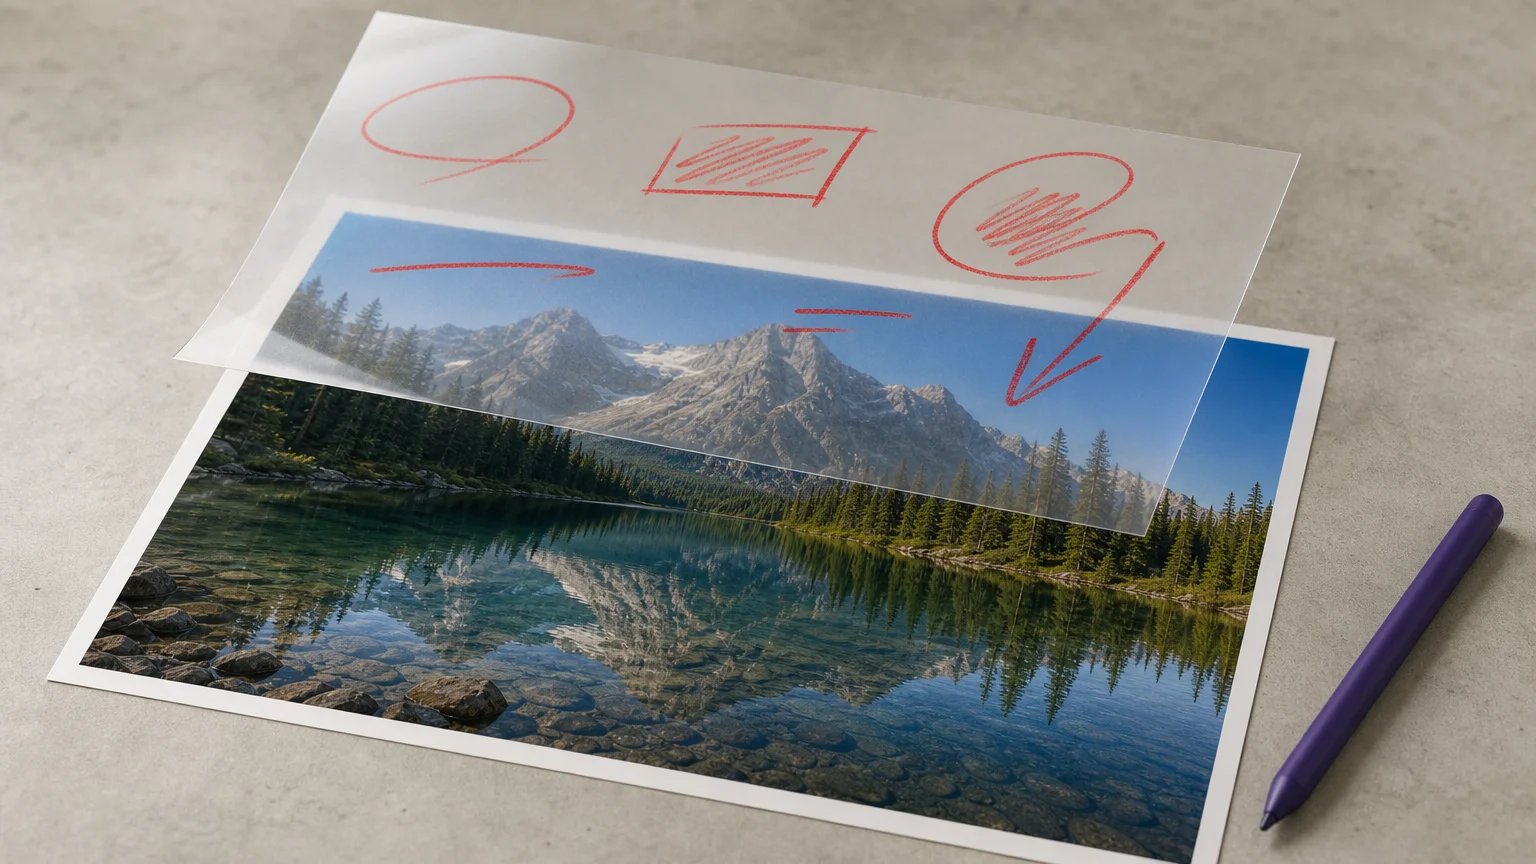
For a flattened image, an AI inpainting tool can remove a selected mark and generate replacement pixels. Upload a copy, mark the scribble, process the edit, and inspect the result at full size before saving. Some tools let you refine the selection, which can help when a stroke crosses more than one surface.
Check the borders of the repaired area for repeated textures, soft patches, broken lines, or changes to nearby objects. A result may look smooth at a glance while altering a small feature on closer inspection. One 2026 restoration study describes using inpainting for damaged or missing areas in historical images. That illustrates restoration as a reconstruction task, not proof that software can retrieve the exact pixels originally covered.
For authorized captions, dates, or text overlays, our Remove Text workspace is designed for that focused cleanup task. Freehand doodles are not the same as text, so review the result rather than assuming every kind of mark will be handled identically. Our AI photo editors guide can also help you consider broader editing workflows.
Know what the tool cannot restore
When a scribble covers part of a flattened image, the covered pixels are no longer available in that file. An editor can infer what might fit from the surrounding scene, but it cannot verify the original appearance from pixels that are missing. The larger or more complex the covered region, the more room there is for an invented detail to look convincing.
A 2026 inpainting survey identifies continuing challenges with large missing regions, global consistency, and fine detail. For personal photos, that means you should treat the edit as a visual repair. For evidence, records, or documents, do not present generated reconstruction as recovered source information.
If the hidden content matters, search for another copy in your photo library, cloud backup, messaging history, or the device that captured the image. If the scribble was added in an app, check its project history or version history. Those sources may preserve the actual image data that an editing tool cannot infer.
Review the result before you save it
Look beyond whether the colored mark has disappeared. Compare the cleaned area with nearby edges, textures, lighting, and subject details. If the repair changes something important, undo it, reduce the selected area, or switch to a manual retouching method.
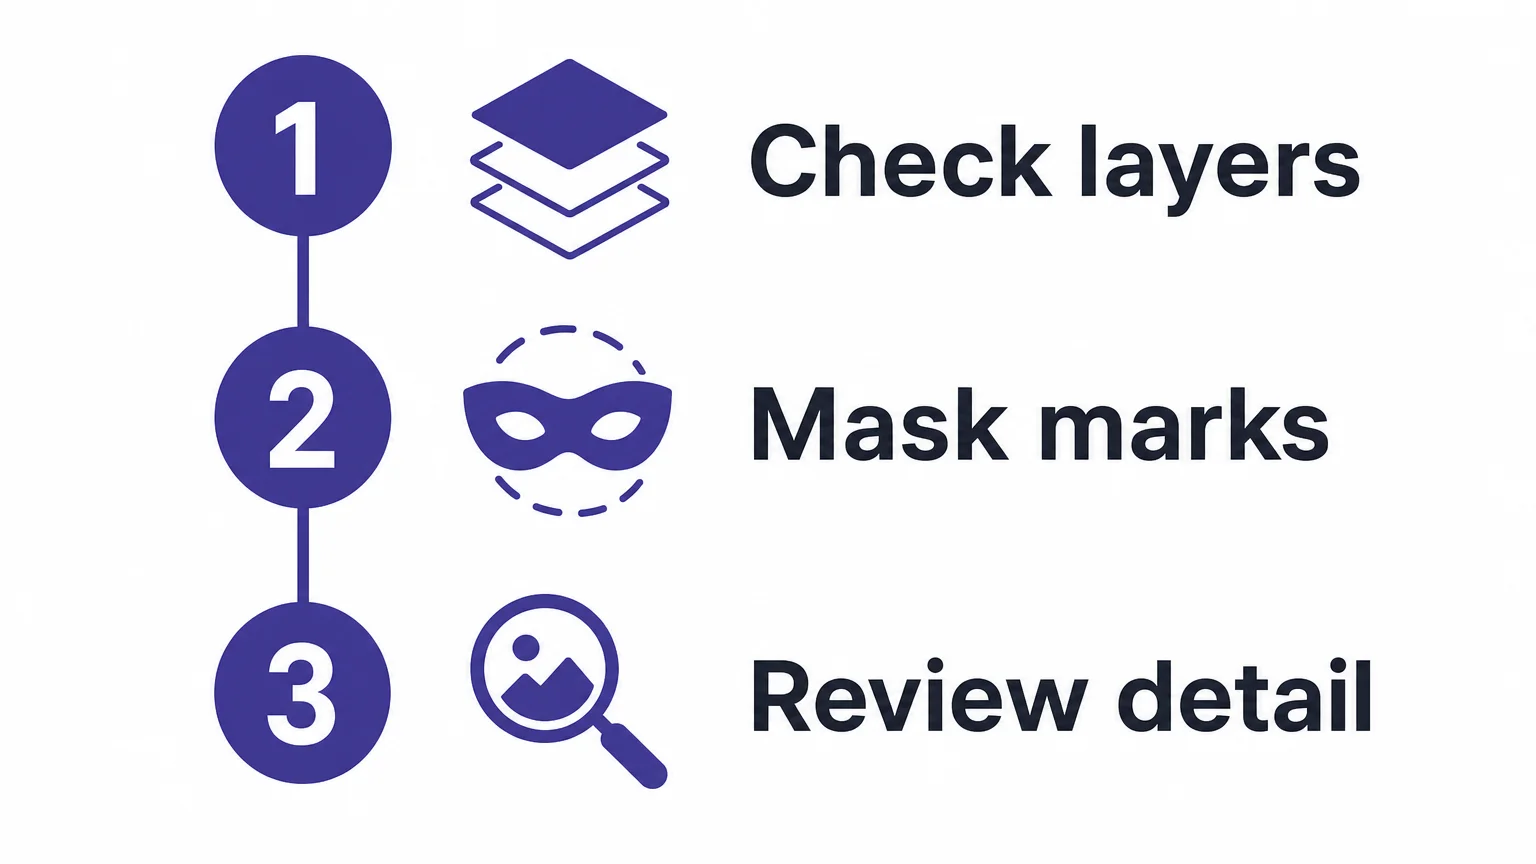
- Save a clean copy of the source before editing.
- Check whether the scribble sits on a separate layer.
- Select only the mark and use the least extensive repair that works.
- Zoom in to inspect textures, edges, and nearby details.
- Keep the result labeled as an edit if accuracy or provenance matters.
Choose removal or recovery based on the source
To remove visible scribbles, first look for an editable layer or an unmarked backup. If the image is flattened, retouching or inpainting may create a cleaner appearance, but not necessarily restore what was covered. Use a copy, inspect the repair closely, and treat reconstructed details as generated rather than recovered.
Try a Focused Text-Cleanup Workflow
If the marks are authorized text, captions, dates, or timestamps, a task-specific workspace can make cleanup straightforward. For freehand scribbles or marks that cross important details, check the processed image carefully and compare it with your original.

Our Remove Text workspace accepts JPG, PNG, WebP, and GIF files up to 15MB. The first run is complimentary for that tool. Later cleanup requires a verified account and credits, with the required credits shown before processing. Remove authorized text from a photo and review the result before downloading.
Frequently Asked Questions
Can I remove scribbles without changing the rest of the photo?
You can limit edits by selecting only the marked area, but nearby pixels may still change during reconstruction. Compare the finished image with the original and undo the edit if important details shift.
Can an app reveal what a scribble covered?
Not reliably from a flattened image alone. A tool may generate a plausible fill, but check for an original copy or backup if the hidden content matters.
What should I try first on an old family photo?
Look for an unmarked scan or another copy before editing. If none exists, work on a duplicate and inspect the repaired area closely to protect the original.
Does Pixmage Remove Text work for every kind of scribble?
Our Remove Text workspace is intended for authorized text, captions, dates, and timestamps. A freehand doodle may need a different cleanup approach, so review the result rather than assuming it will be removed the same way.
How can I get a more natural-looking repair?
Select the full mark without including unnecessary surrounding detail, then inspect the edges and textures after processing. For intricate patterns or important features, try a smaller repair or manual retouching.